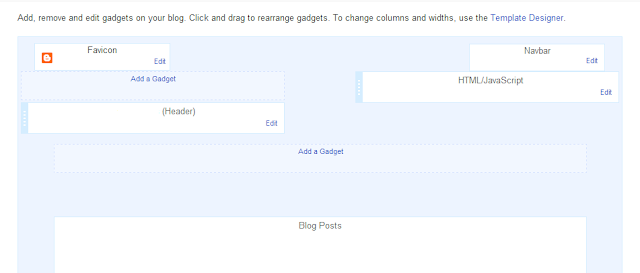
Many blogger templates will have a feature that allows you to add an extra widget to the header section. The single column structure templates will not have this feature.
In this tutorial I will tell you ‘How to add a widget to the header section’ in blogger.
We have to
make some simple changes to the template. Don’t worry; I will help you through
this. Before making any changes “please backup your template”.
Follow these
steps:
- Log in to blogger dashboard.
- Go to template. Click “Backup/Restore”. Click “Download full template”.
- After downloading your template, click “Edit HTML”.
- Search /*Header or /*-----Header (something like this).
- Now below it add this piece of code.
If you have any genuine problems regarding this post please feel free to contact.


.jpg)


